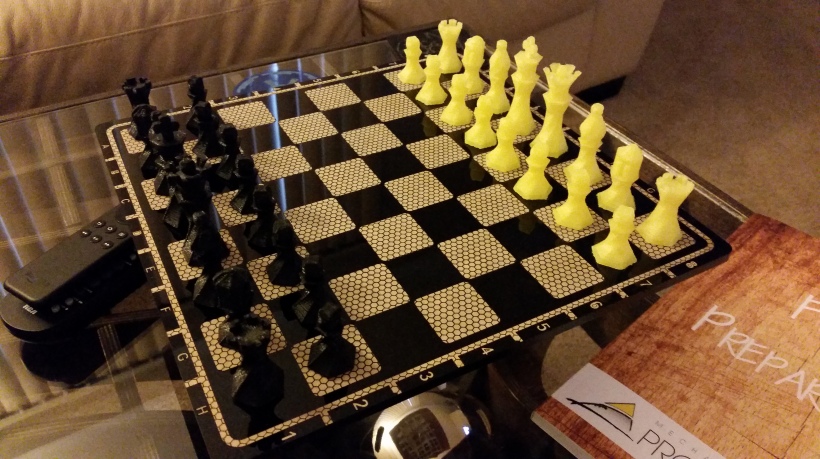
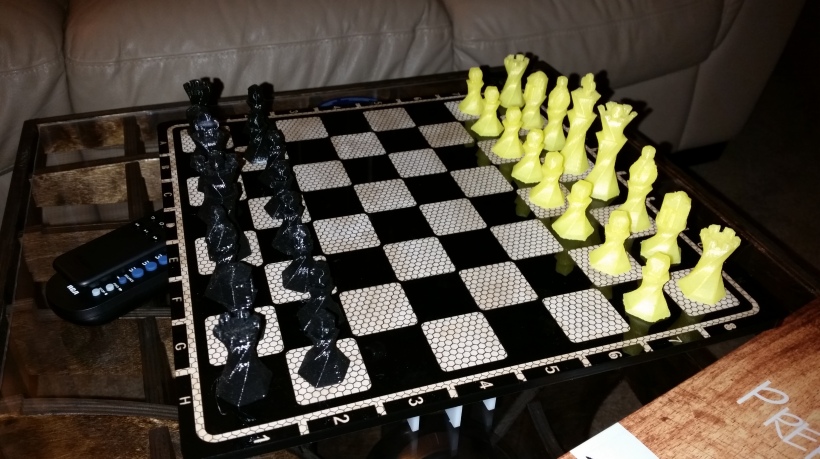
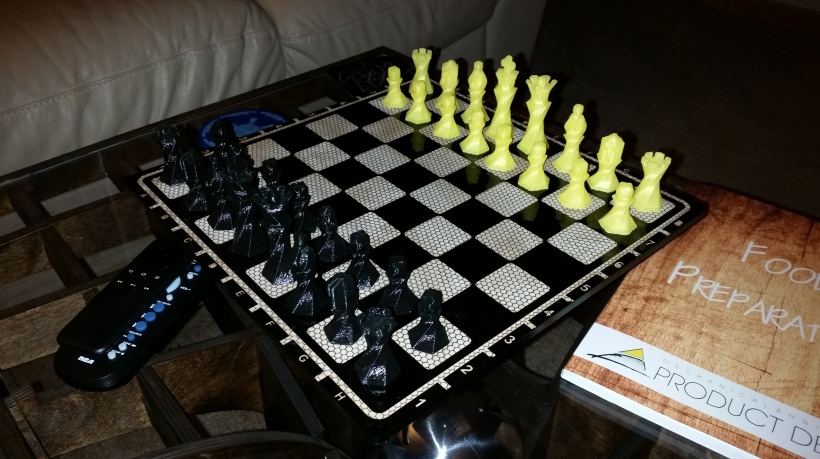
A couple months later, I am finally getting a chance to finish up the chess set and make a board for it! Check out Part I of this project here.
DESIGN
I had a design in mind for a while using 1/4″ black acrylic and 1/8″ white acrylic, but it was going to be too big for the work area of my shapeoko 2. I also was not terribly excited about the idea of re-positioning the work piece or cutting small pieces and making it assemble. There would have been seams or inconsistencies that would have looked poorly. Fortunately for me, at my new job, we have a CO2 laser cutter/engraver. Just when I thought it couldn’t get any better with access to a water jet, I also get to play with a laser!
I scrapped my old design and decided to just use the 1/4″ black acrylic with the white spaces engraved onto it. Since I would be laser engraving it, I could easily add whatever hatching or small feature that I wanted to the engrave layer.
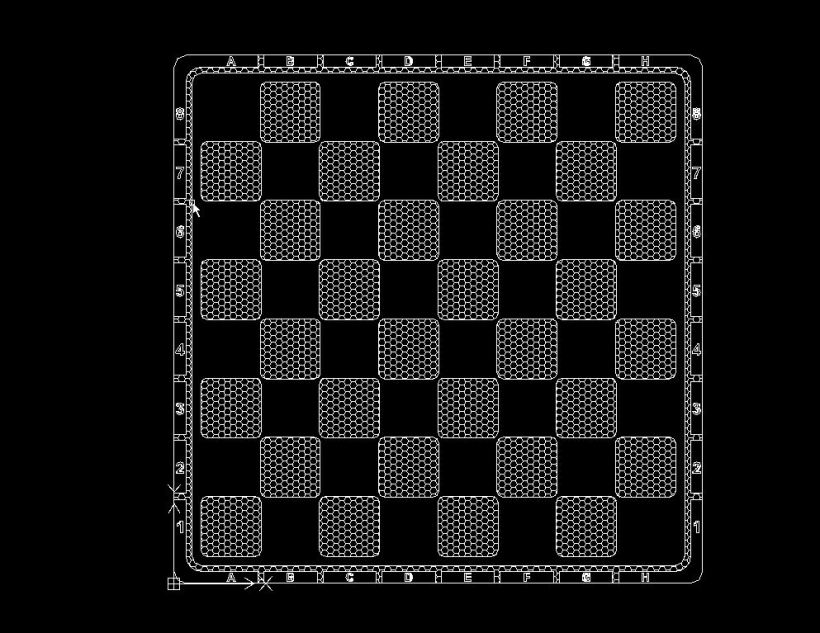
The chess pieces are based on hexagons, so I wanted to keep a similar theme for the board. I tried hexagon shaped spaces, but that didn’t really make sense on a rectangular board. Instead, I opted for a hexagon or honey-combed hatch in squares with rounded corners.
The board with it’s squares and border was from my original board design, which I laid out with patterns in SolidWorks. After that, I exported it as a .DXF and opened it in inkscape to add the lettering and numbering. The final step was exporting it as a .DXF yet again and then opening it in DraftSight to add the hatch pattern. After exploding the hatch and text down to lines, I was able to open it in the laser cutter software, SmartCarve.
Grab the source files here.
LASER CUTTING
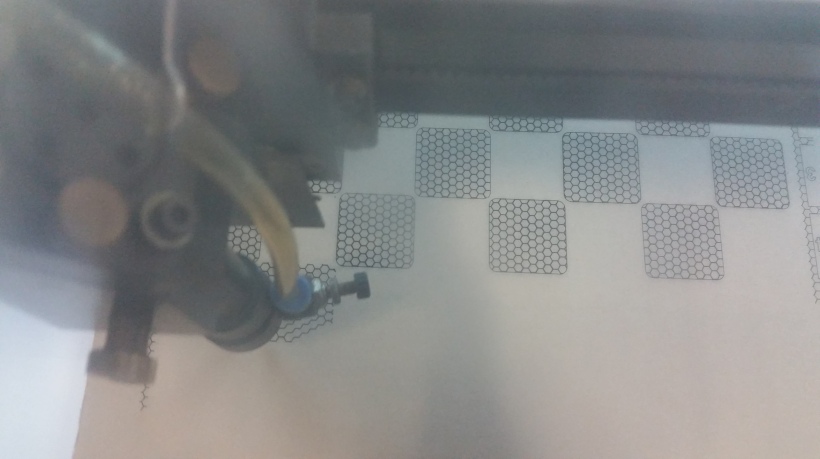
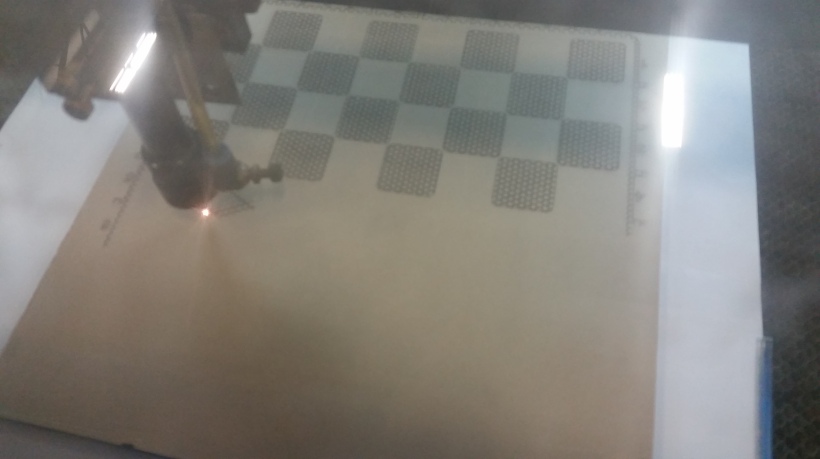
Laser cutting was fairly simple. I had only used it a few times, and was kind of guessing on what speeds and power to use to do it correctly. I tried 40 mm/s, 20% power for the engrave and 5 mm/s 95% power for the cuts. Unfortunately, the engrave was not powerful enough, and it only very lightly marked the black acrylic. The cut worked just fine however.
About 30 minutes later, the program was done. It appeared to be marked and cut just fine, so I removed it from the work area. It wasn’t until after I removed some of the masking that I noticed it wasn’t marked that well.
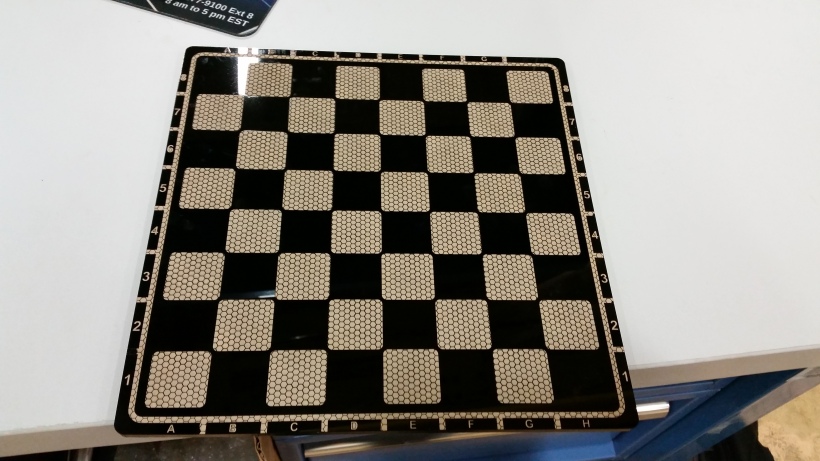
After the laser finished, I removed the mask on a majority of the areas. You can see the ‘H’ on the top, or rather, can’t see it, due to a under-powered etch pass.
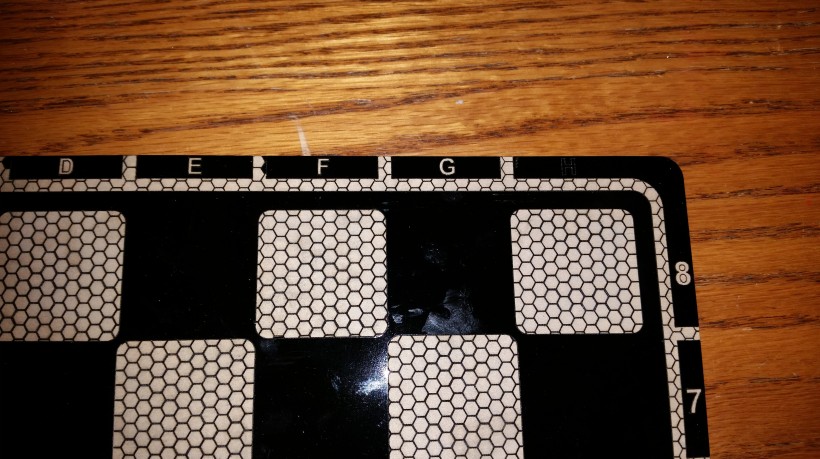
Close up shot of the ‘H’ that did not etch enough to be seen. The only reason it is even semi-visible in this shot is because of camera flash.
The etch didn’t work, so for this one I left the masking on some areas. It provides a nice looking effect, but is not as durable as it could be. I may re-do this piece using clear acrylic to ensure a good engraving.
Since part one of this post, I also printed another half the set in black PLA. I still do not like the yellow PLA pieces, so soon I will print out a set in white PLA.
MORE PICTURES

